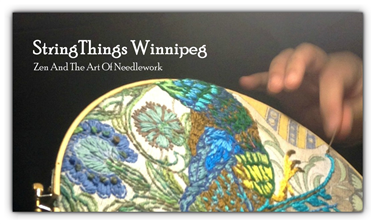
I’ve been doing a fair bit of mending for friends and family lately, and I am very honoured that they have trusted me with some pretty important textiles! I finally got a chance to try some very fine invisible mending. I thought I would describe the process for you.
Wikipedia describes invisible mending as:
Invisible mending is a sophisticated weaving method consisting in rebuilding the fabric of a garment but also of upholstery after an accident: snag, burn, accidental blade or scissor cut, etc.
Both the warp and weft of the fabric could have been damaged. Invisible mending is the reconstruction of both the warp and weft using a long needle. The mender (most often a woman until the craft started to vanish), picks all the necessary weft warn in the hem, and the warp yearn in the extra fabric on the inside of longitudinal seams.
She will reconstruct the warp and weft to exactly match the original weave. After this is done and the garment has been pressed, the mended part will be undetectable on the outside of the fabric. However, on the reverse side, the restored area will be marked by the long hanging threads where the weaving was done. The hanging threads occur because invisible mending is done without tacking, as it could deform the fabric (unlike darning work).
While mending in general is included in the industrial production process, invisible mending is a service that is still provided by high end dry cleaners. In addition, the results of invisible mending are invisible on both sides of the fabric.
Up until the 70s, mending and invisible mending were common practice. Nowadays, they have become fine crafts associated with tapestry weaving.
Holy Textile Repair: Because God Said So!
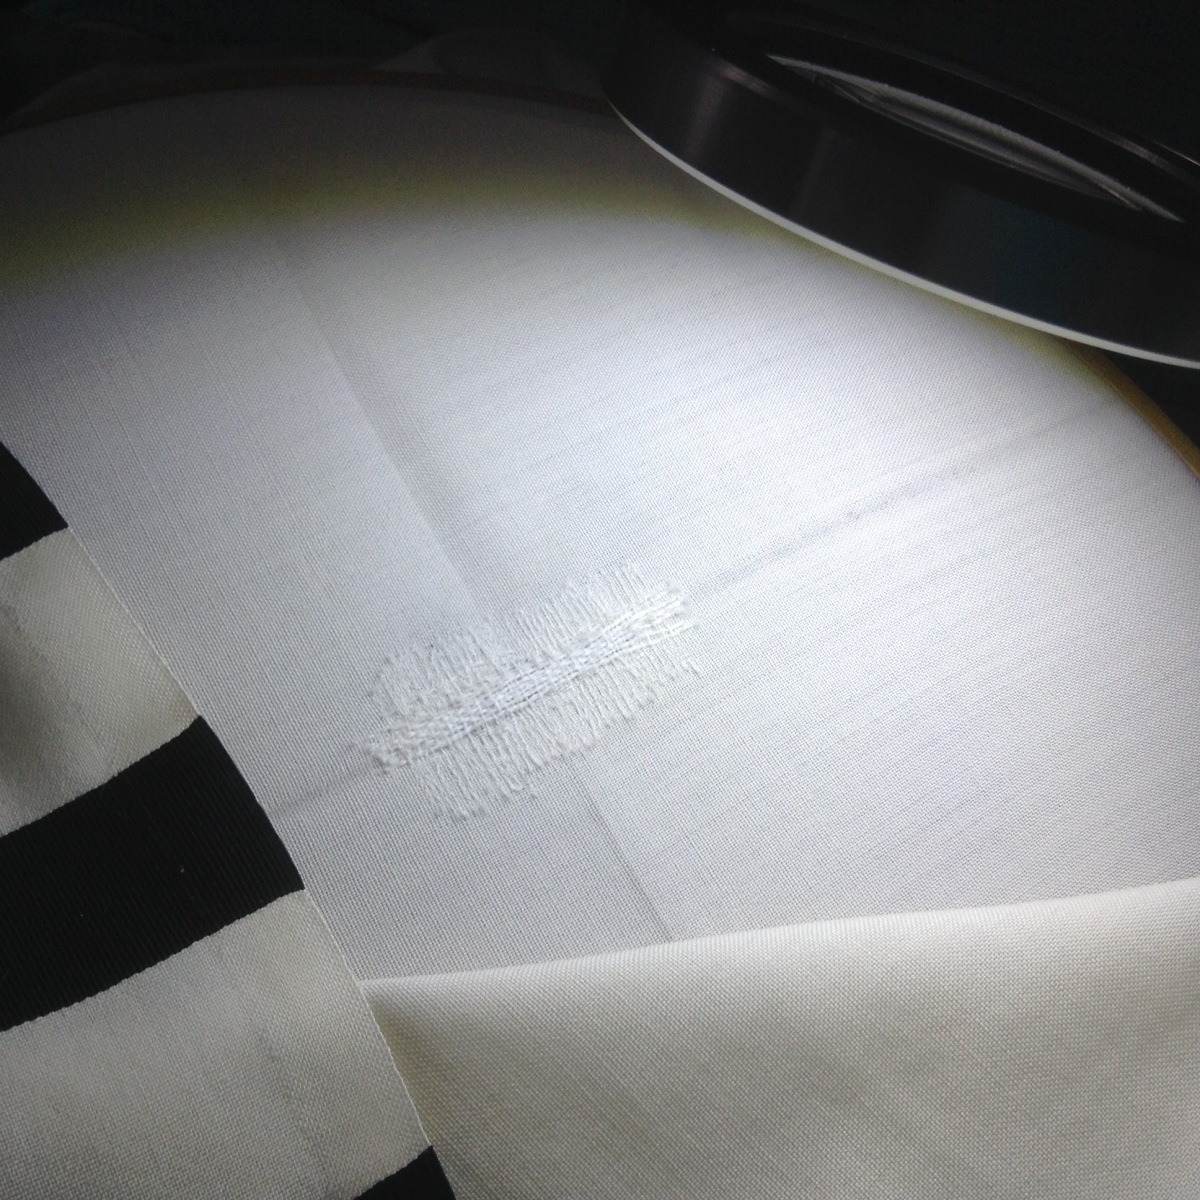
My brother-in-law’s tallis (prayer shawl) has been in daily use for the last 15 years and was showing it’s age. I was very honoured that he trusted me with this to mend as I know how meaningful it is to him. A careful inspection revealed some challenges to address.
One difficulty was that I was limited to 100% wool thread only, and the fabric is made of extremely fine wool thread (60 warp threads per inch). Not easy to find! Why only pure wool? Because in Deuteronomy 22:11 it says, “You shall not wear cloth made from wool and linen woven together.” So there you go. God said no mixed fibres.
Normally I would use harvested thread from the edges of the item but this thread was so fragile that I was concerned about it being strong enough to not break in the repair process. Eventually I turned to laceweight merino 2 ply undyed yarn. I separated the plies and spun additional twist into the yarn to increase it’s strength. All of the work was done under 5x magnification and very bright light. Here I am separating the plies.

And here are the materials and tools that I used.


First, there was torn stitching to repair in several places. I used simple back stitch to repair the torn area.


A torn end was fraying and weft threads were coming loose. I hand stitched a line of stitching (using 2 ply lace merino yarn) to prevent any more damage from occurring using undyed merino lace weight yarn. I used a leather covered wooden block that I have as an impromptu darning ‘egg’. It worked really well!

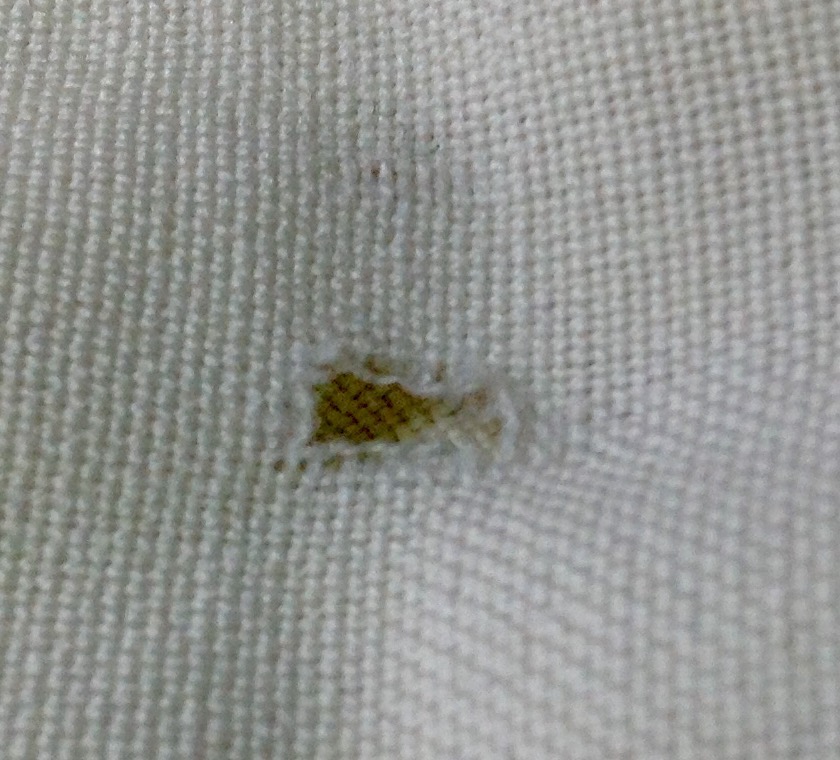
Two spots needed to invisible mending. Because the tallis had been folded an refolded on the same folds the spots where the lengthwise and widthwise folds intersected had worn thin and eventually given way.
Here are the steps.
- Hoop the fabric.
- Weave in warp threads (making sure to extend onto sound fabric.) I used 2 plies of lace wool.
- Carefully, using a blunt needle, weave in weft threads on the side of the fabric that doesn’t show. Leave all threads ends long. (I used 1 ply of wool thread.)
- If the patch will not show, trim but do not cut the ends of the thread for extra security. If the fabric is exposed on both sides, extend the darn further and trim closely. The darn should be on the side that shows less.
- Using a damp pressing cloth press the patched area in order to encourage the fibres to swell and lock into place.
The last pictures show the final mends on both sides, under 5x magnification, before pressing. The patches will be much less obvious after pressing.


Lastly, I tackles the major repair, a three inch tear. The steps are the same. Note the pictures that show picking up alternate threads one by one in order to weave in the warp then weft threads. This is MUCH easier to do under bright light and with a good magnifier!


Micro-Mending and Regular Mending
This kind of darning compared to regular mending is like doing surgery vs doing micro surgery! The tallis took two days to complete. The next job was much easier and only took a couple of hours.
Recently, I got a chance to mend my friend Judy’s sofa. I used overcast stitching and matching embroidery floss to cover and reinforce some frayed welting with my handy curved upholstery needle. That is the first time I have worked on furniture and it was very rewarding. Isn’t the fabric gorgeous? A little mending every so often saves having to do an expensive upholstery job!


The Zen Of Mending
To me, mending is an intensely satisfying and somewhat spiritual practice. One of the values I try to live by is to live as lightly as possible on the earth, and another is to be a maker, producer, craftswoman, and citizen; not just a ‘consumer’. Mending is part of being my best self. And mending for those I love is the best feeling of all.
Make do and mend my friends!
Love, Baba StringThings

What meticulous incredible work!
LikeLike
Thank you so much Adrienne! ❤
LikeLike